Pumpkin decorating is one of our favorite seasonal speech therapy activities! It’s fun, creative, and offers many natural opportunities for targeting articulation, receptive language, expressive language, social communication, and more.
We’ve included five pumpkin decorating ideas plus ways to build speech and language skills while getting into the Halloween spirit. Scroll down to find them!
How to Target Speech and Language While Decorating Pumpkins
- Prepositions: You can teach and review many prepositions including in, on, under, above, around. For example, you can instruct a client to draw a circle around the stem or to point to the eye next to the sparkles.
- Sequencing: Follow a visual step-by-step sequence while decorating. Write and/or draw out each step, such as picking a pumpkin, gathering supplies, decorating it, and taking it home. You may create the visual ahead of time or encourage the client to think through the steps first, then complete the pumpkin decorating activity.
- Following directions: Work on single-step and multi-step directions as you decorate your pumpkins. If you are working in a group or in teams, consider having each individual be responsible for delivering one direction. This can be a great opportunity for individuals to take turns having a leadership position and giving a concise direction to a group.
- Descriptive concepts: Emphasize adjectives as you describe pumpkins and decorations. For example, you may talk about the size of the pumpkin, what it feels like, and what the decorations look like. Afterwards, encourage clients to describe their pumpkins in a few words or sentences, depending on their skill level.
- Body parts: For pumpkins with facial features, you can easily label and identify different parts (e.g., eyes, nose, mouth). You can then generalize these skills by asking clients to label/identify the facial features on their own faces, too!
- Social (pragmatic skills): Practice requesting materials and/or turn-taking if individuals are working with others to decorate one pumpkin. by alternating decorating steps.
Pumpkin designs*
*General design tip: Pumpkin decorating is fun, but can also be messy! Decorating on a flat, large surface that can be covered with an old sheet or newspapers can help for easy cleanup.
Looking for fake pumpkins and arts and craft supplies? Check out some of the links below:
- Fake pumpkins
- Serrated knife
- Tea light
- Glitter
- Adhesive spray
- Googly eyes
- Felt
- Spray paint
- Fake spiders
- Cheesecloth
- Glue
- Hairspray
- Paint
Pumpkin Decorating Ideas
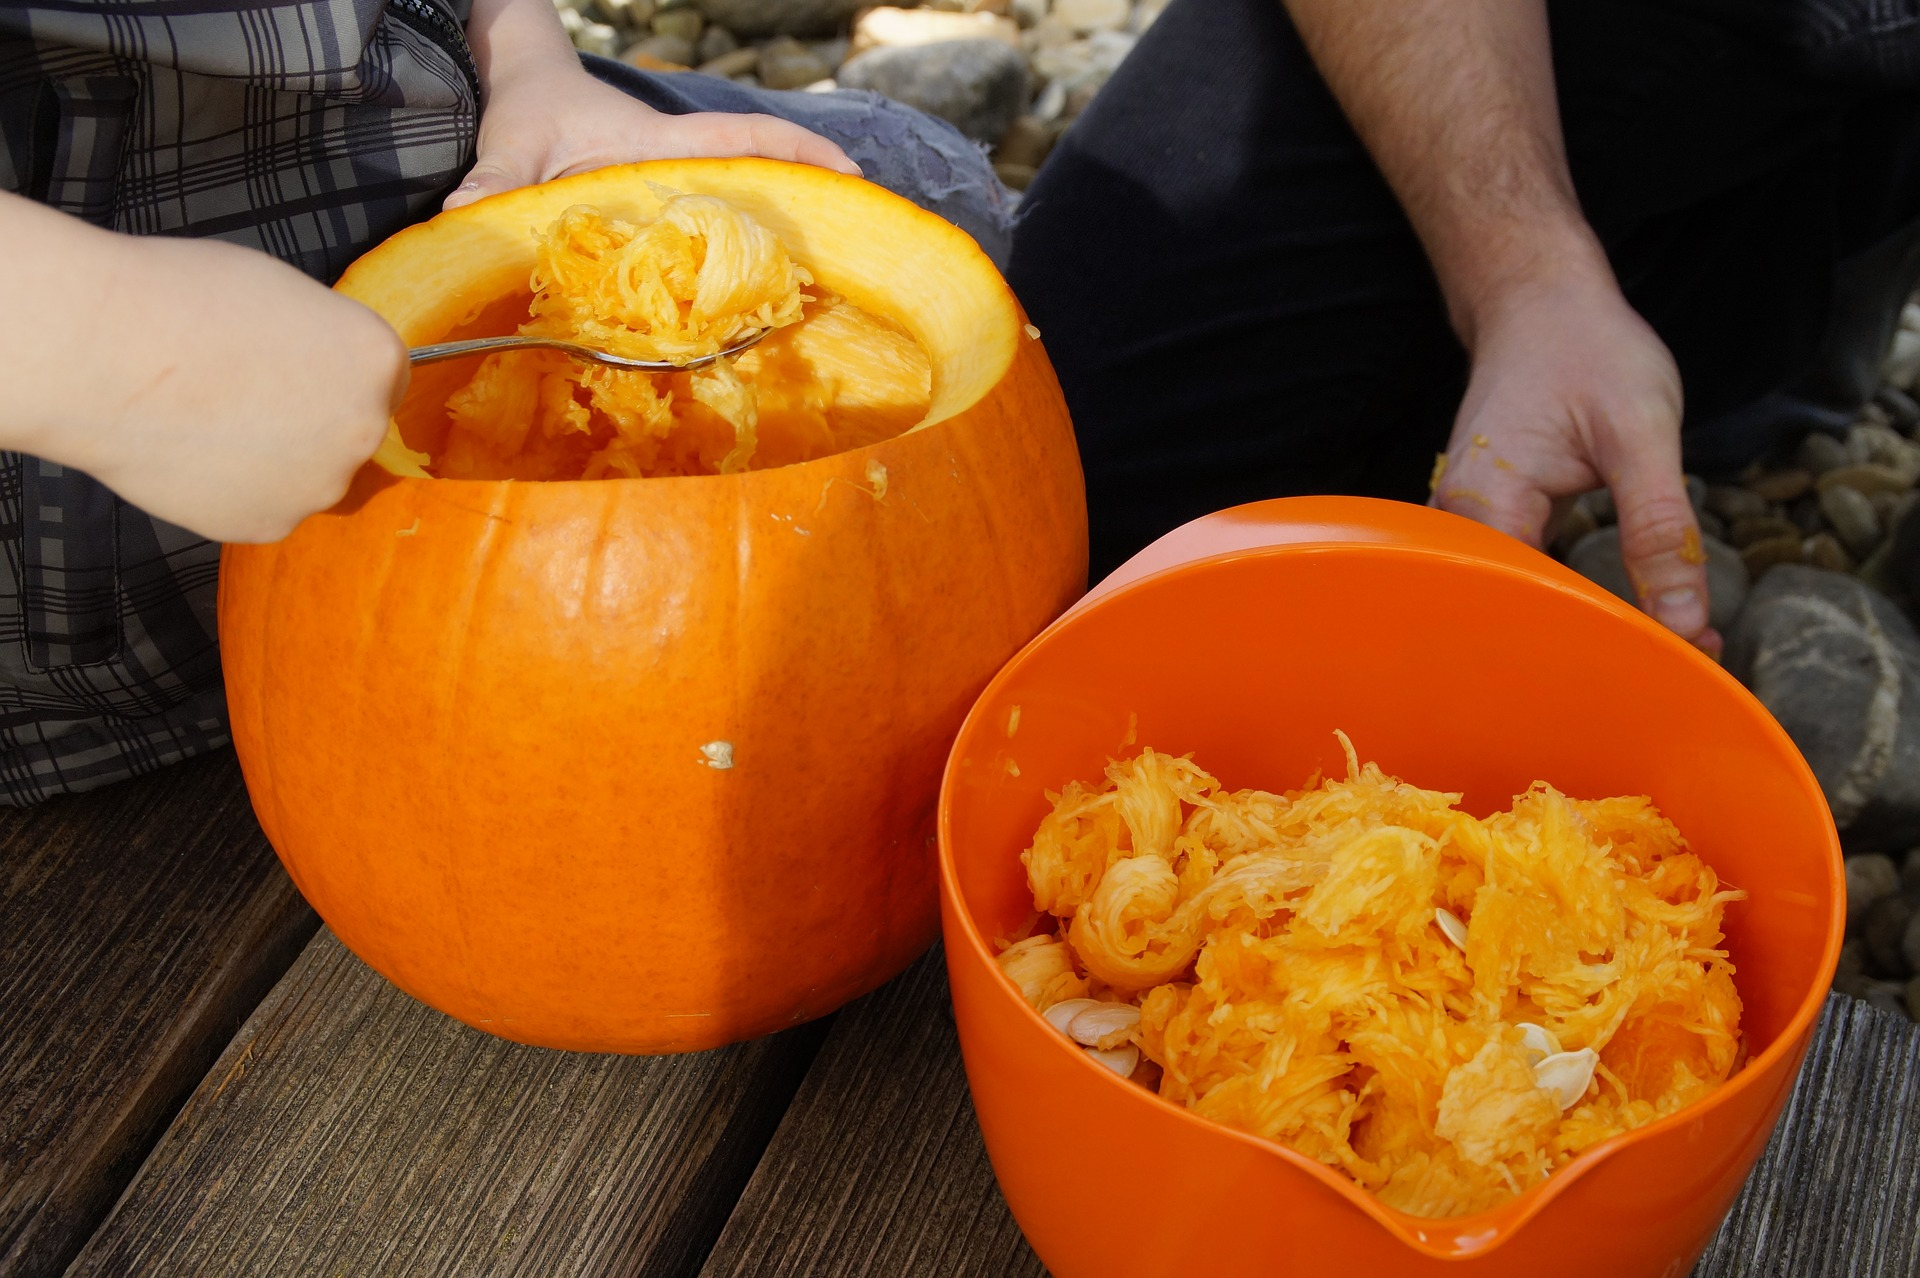
1) Classic Jack-O-Lantern
Materials:
- Medium to large pumpkin
- Writing utensil
- Serrated knife
- Spoon
- Small candle/tea light
- Lighter
Directions:
- Draw a circle around the stem of the pumpkin and stencil areas around the face you wish to carve
- With adult assistance or supervision, use the knife to cut a hole around the stem (following the circle outline)
- Use the spoon or your hands to remove all seeds and insides of the pumpkin and dispose (or save to bake at another time!)
- Use the knife to carve into the face design that was initially stenciled
- Place the candle/tea light within the pumpkin and light!
2) Sparkly Mini Pumpkins
Materials:
- Mini or small pumpkin
- Glitter (single or multiple colors)
- Adhesive spray
- Tape
- Spoon
Directions:
- If you do not want glitter on your stem, cover with tape to protect from adhesive (tip: use tape to cover wherever you want your pumpkin to be glitter free!)
- Use adhesive spray to coat the pumpkin
- Take the spoon to sprinkle glitter over the area sprayed with adhesive
- Shake the pumpkin gently and let the loose glitter fall off
- Repeat if desired or to add combinations of colors
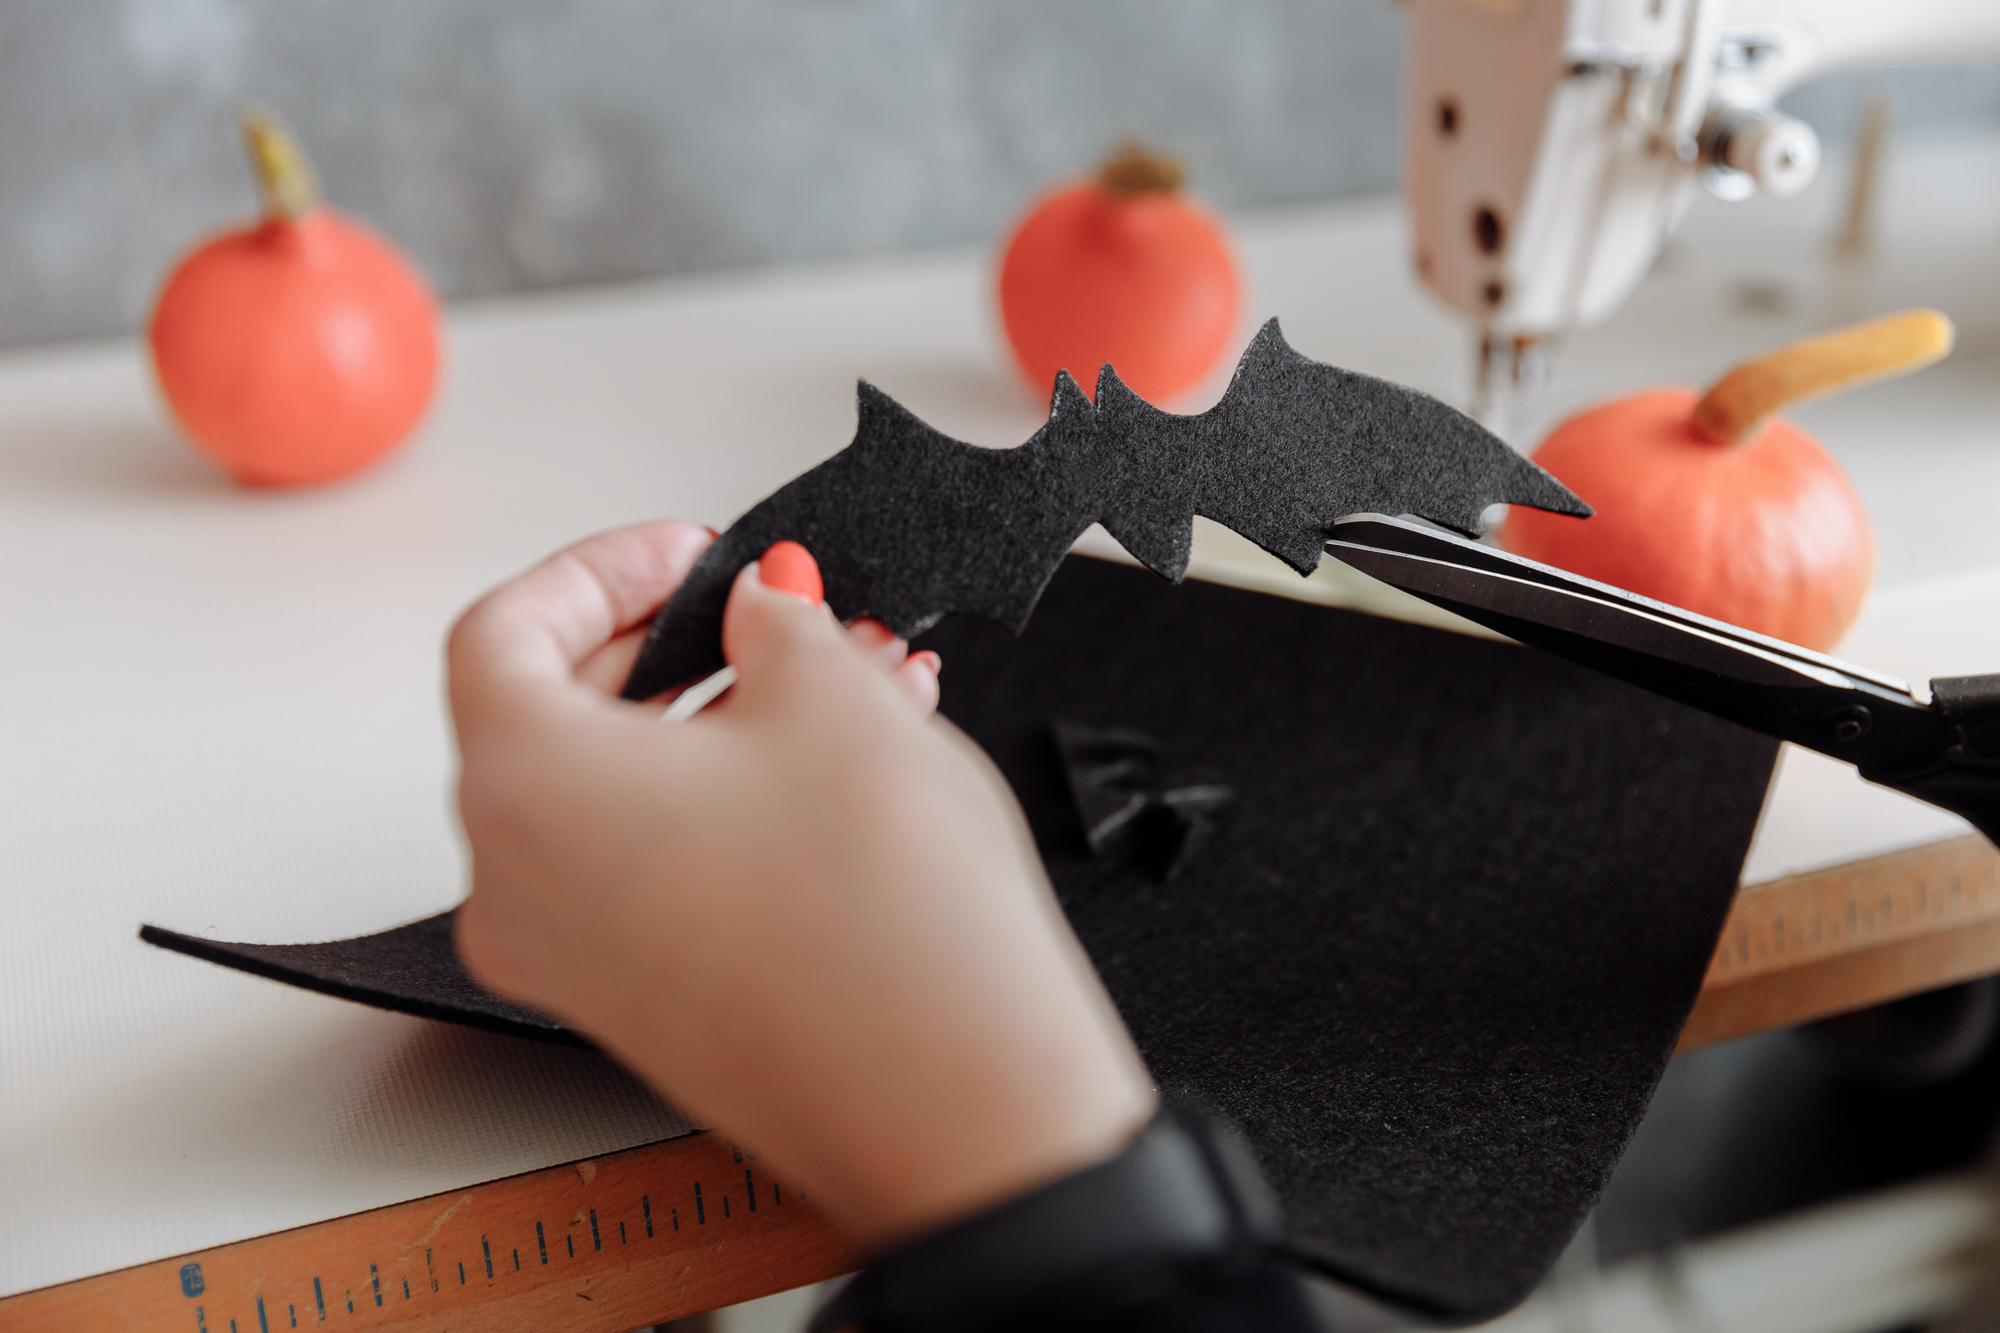
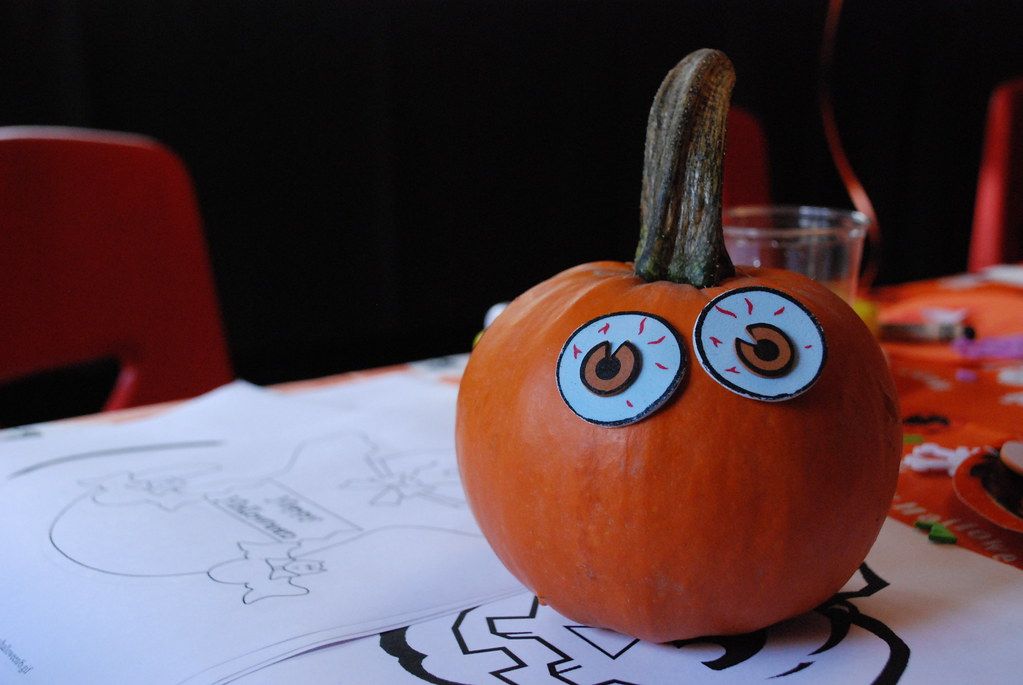
3) Funny Face Pumpkins
Materials:
- Any sized pumpkin
- Face materials (use materials of your choosing - e.g., felt fabric sheets, googly eyes, sparkly cotton balls, etc.)
- Scissors
- School or tacky glue
Directions:
- Select the material(s) of your choosing for your pumpkin’s facial features
- If using something like tissue paper or felt fabric, use the scissors to cut into shapes (you will at minimum need 2 eyes, 1 nose, and 1 mouth)
- Gently squeeze the glue on the back of each body part to be placed
- Continue until you have placed all desired body parts on the pumpkin
4) Spooky Scary Pumpkin
Materials:
- Any sized pumpkin
- Cotton balls
- Black spray paint
- Pack of plastic spiders
- Adhesive spray (if needed)
Directions:
- Coat the entire pumpkin with the back spray paint
- Gently pull apart the fibers of the cotton balls to get a spider-web/cobweb appearance
- Wrap the pulled-apart cotton balls around the pumpkin and stem (if needed, also use adhesive spray for this step)
- Place the desired amount of plastic spiders within the web of cotton balls
5) Mummy Pumpkins
Materials:
- Any sized pumpkin
- Cheesecloth or gauze
- Tape
- Adhesive spray
- Googly eyes
- School or tacky glue
- Hairspray
Directions:
- If you do not want decor on your stem, cover with tape to protect from adhesive
- Use adhesive spray to coat the pumpkin
- Take the cheesecloth or gauze and wrap around the entire pumpkin, leaving a small slit towards the top on one side (for the eyes)
- Use the school or tacky glue to paste the last thread of the cheesecloth/gauze to the pumpkin
- Use the school or tacky glue and apply to the googly eyes
- Place the googly eyes in the small exposed slit on the pumpkin’s surface
- Spray the coat of the cheesecloth/gauze with hairspray to stiffen
We hope you were able to enjoy some crafty fall fun! Find additional fall-themed resources below.
- Fall Activities for Speech & Language: Our Favorites
- 4 Fall-Themed Speech Therapy Lesson Plans
- 20 Fall Books for Speech Therapy & How to Use
- Fall Vocabulary Speech Therapy Activities
- Top Five Thanksgiving Speech Therapy Activities
- Fall Short Stories with WH- Questions
- Mad Libs: Halloween and Thanksgiving
Looking for more seasonal materials? Check out our Premium Community!
This post contains some affiliate links and we are (slightly) compensated if you use them, but all opinions are our own. We appreciate the support!